Can Red Onion Support Healthy Blood Sugar Levels Naturally Through Everyday Meals
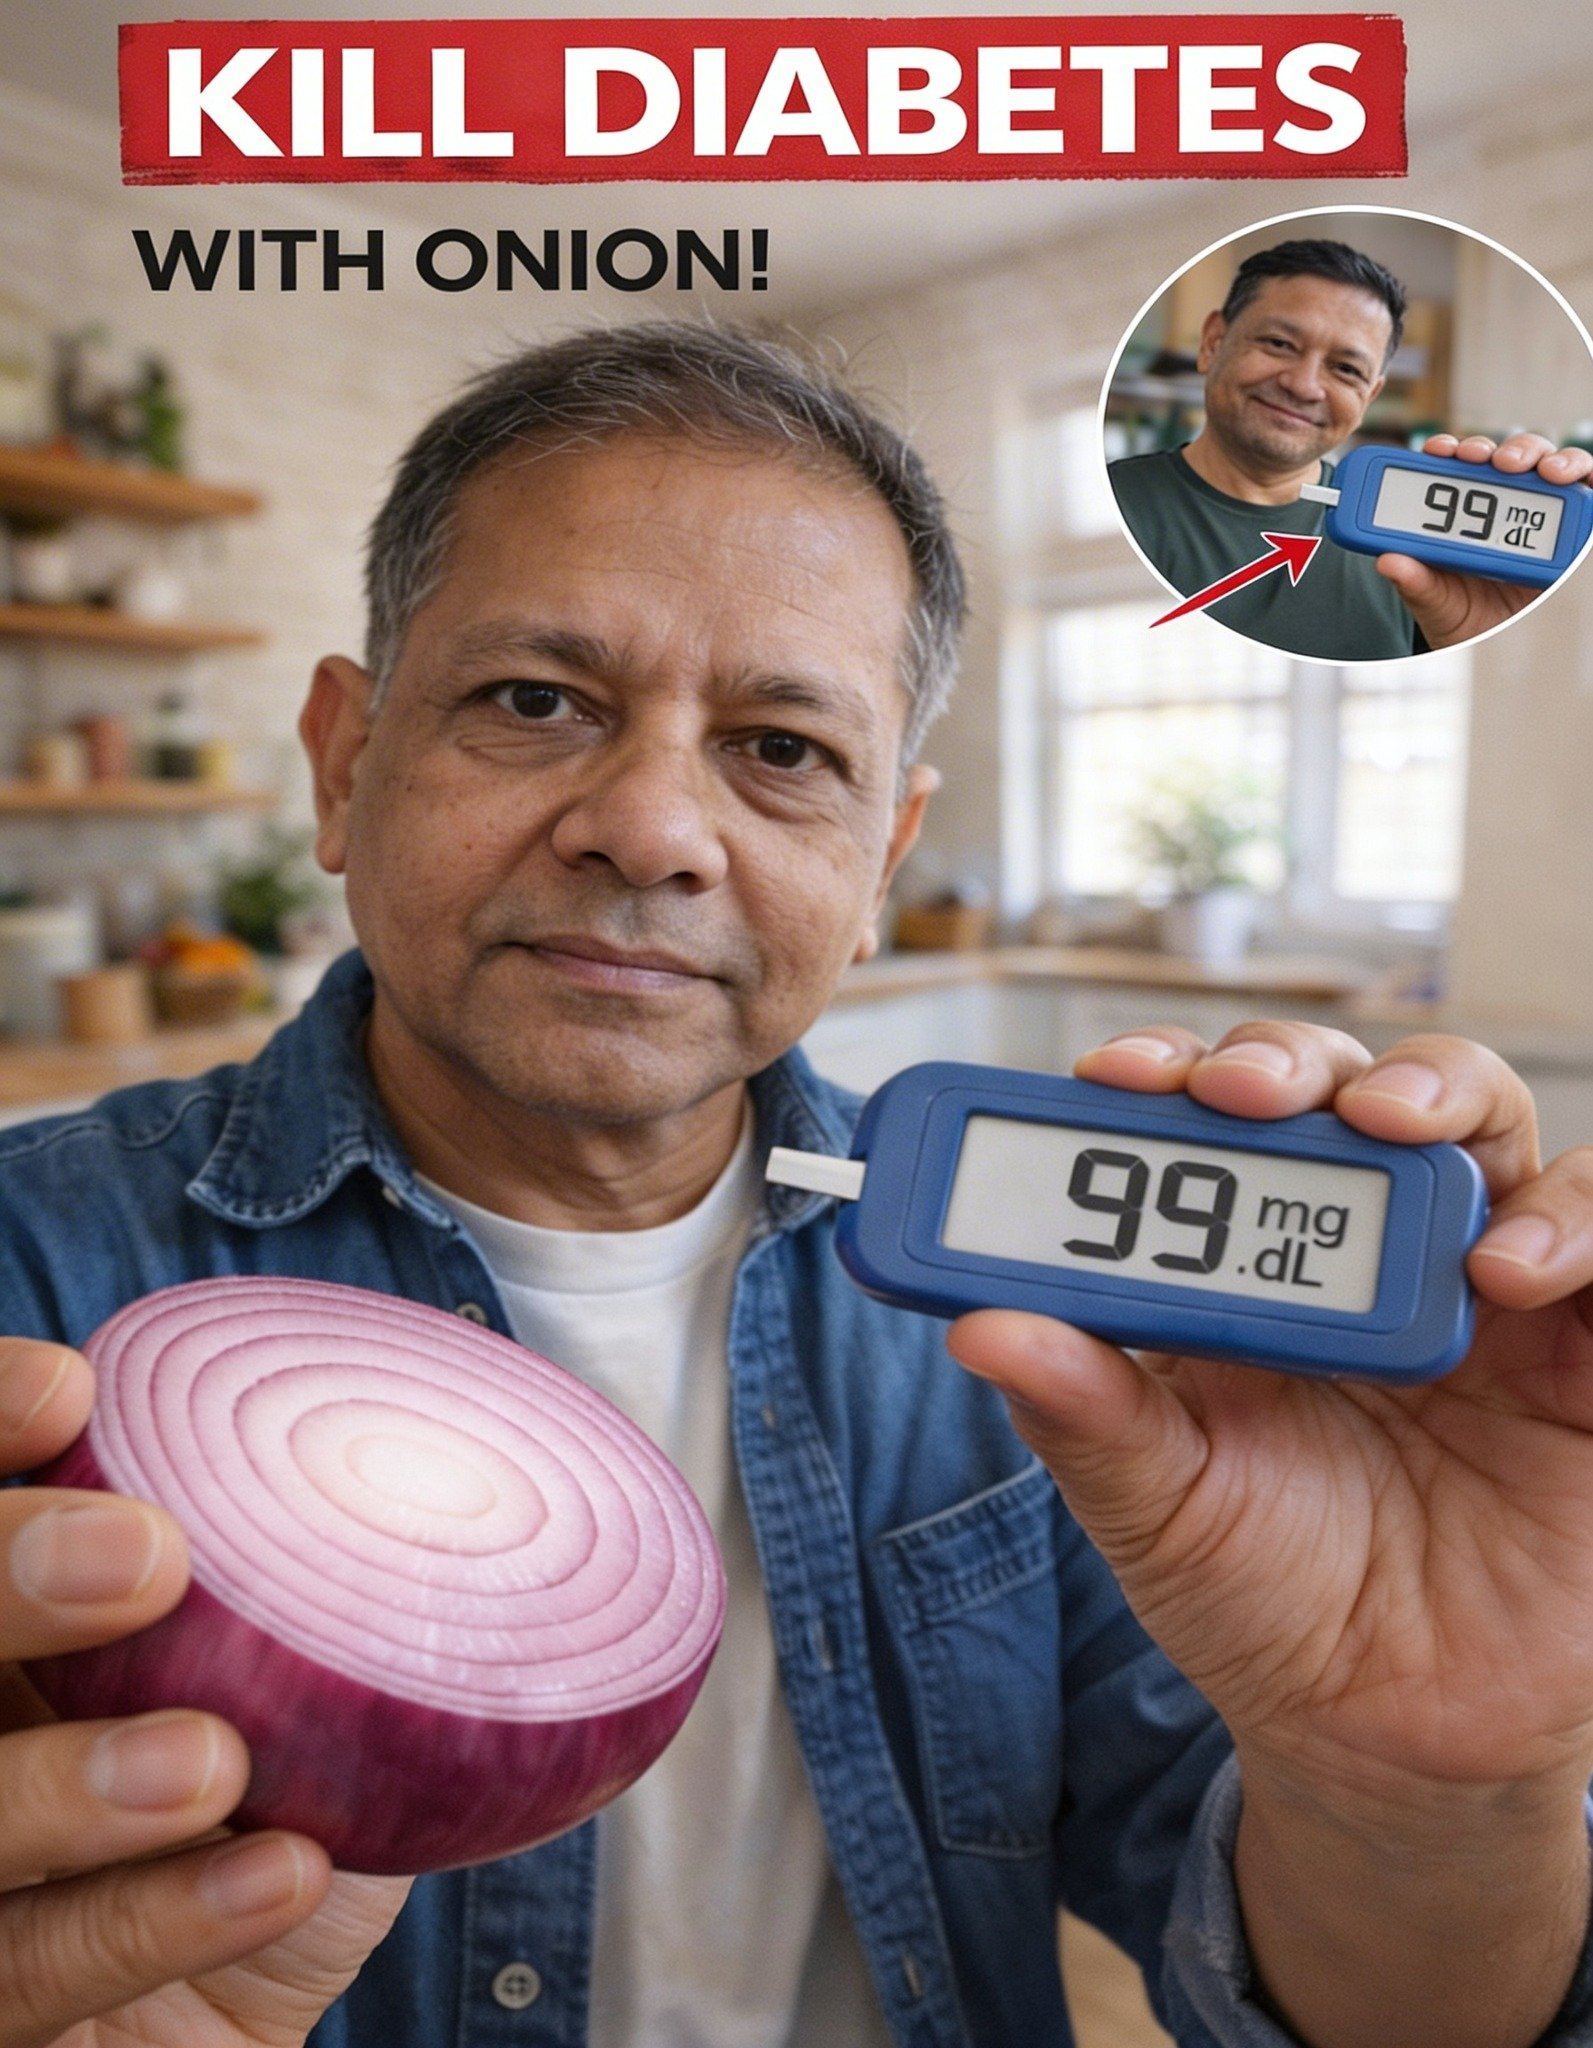
Can Red Onion Support Healthy Blood Sugar Levels Naturally Through Everyday Meals Struggling to keep your blood sugar within a comfortable range can feel frustrating and exhausting. You try to eat better, move more, and follow advice, yet small spikes still happen and leave you worried about your long term health. It is easy to…
Read More “Can Red Onion Support Healthy Blood Sugar Levels Naturally Through Everyday Meals” »